INSTALL ANDRIOD 4.4.4 IN LAPTOP PC with aditya jha
Android x86 - Installation
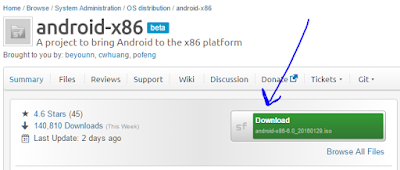 |
| This will take a while for some, so I recommend doing it first. |
The official downloads link to Sourceforge unfortunately
2. Format your USB drive to FAT32
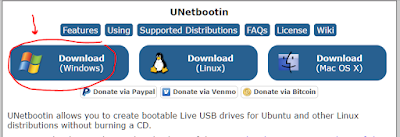 |
| Looks straight out of the 90's! |
4. Search partition on the start menu and open "Create and format hard drive partitions"
5. Right click the drive you want to put Android Marshmallow onto and click Shrink Volume...
6. Choose the size of the drive in MB. 64000 MB is about 64 GB, just add
3 zeros after the amount of gigabytes you want available. Now click
Shrink.
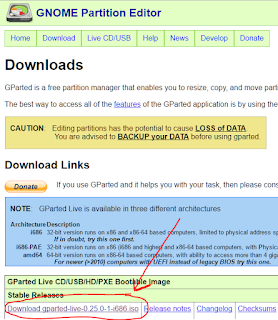 |
| The name may be different, but it ends in .iso |
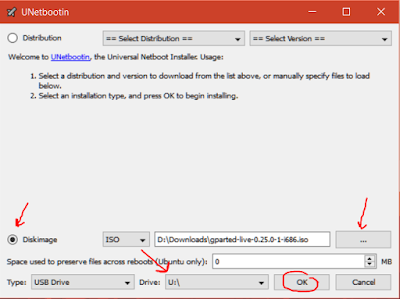
8. Run UNetbootin. Choose Disk image, click the three dots and navigate
to the .iso you downloaded titled gparted-live-0.xx.x.x.i686.iso. Choose
your USB drive and click OK.
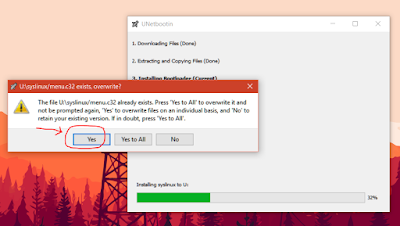
If a pop-up appears, press yes.
9. Enter your boot menu. (If you are not sure how, read below)
- Restart the computer.
- Repeatedly press F12 until a menu displaying devices appears
- Use the arrow keys to move up and down, and select the device you want to boot into.
- Press the Enter key.
Google how to get to your device's boot menu if this did not work.
10. Use your arrow keys to navigate the menus from now on. Select your
flash drive with the arrow keys and press enter to click it.
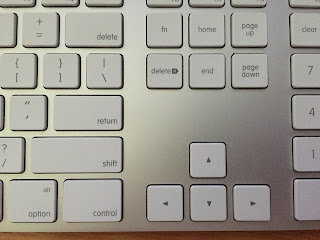 |
| Enter/Return is to click and the arrow keys navigate the menus |
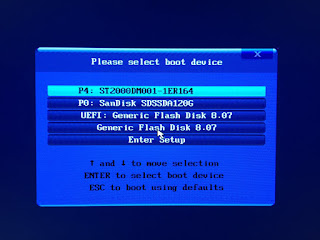 |
| The name of the flash drive corresponds to the flash drive manufacturer |
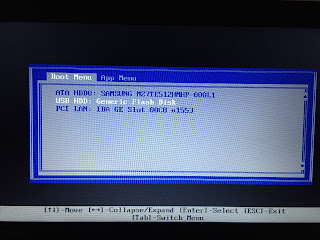 |
| Boot menu on a Lenovo laptop rather than a desktop PC |
11. After seeing some text, this menu should appear. Hit enter when
GParted Live is selected. If anything else pops up, keep pressing enter
until you see a window open.
12. GParted should pop-up in a window.
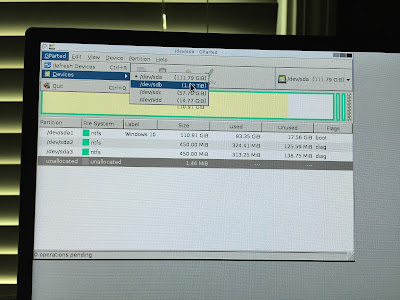 |
I had to go to the GParted menu, Devices, and select the drive I wanted to install Android on.
You should probably not have to do this. |
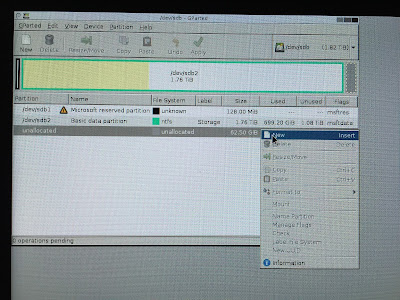 |
| On your unallocated partition, right click and then press new. |
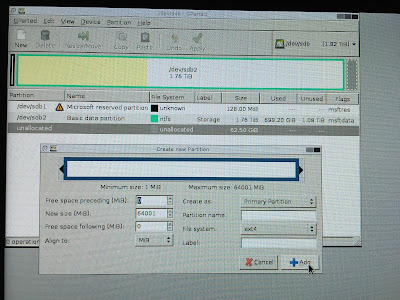 |
| Make sure the file system is ext4, and then press Add. |
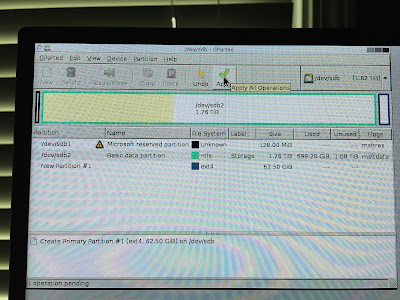 |
| Now press Apply to make the change. |
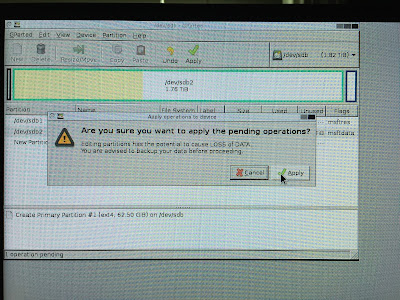 |
| Press Apply once again, remove the USB, then reboot. |
13. Run UNetbootin. Choose Disk image, click the three dots and navigate
to the .iso file you downloaded titled android-x86-6.0-20151202.iso.
Choose your USB drive and click OK.
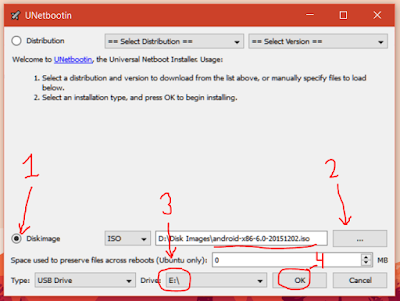 |
Android should be ready to boot after this!
|
14. Once again, go into the boot menu and select the flash drive. UEFI if possible.
 |
| Boot menu on a Lenovo laptop rather than a desktop PC |
 |
| The name of the flash drive corresponds to the flash drive manufacturer. |
15. The Android-x86 menu will appear!
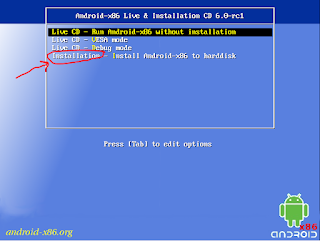 |
| Select Installation with your arrow keys and press enter |
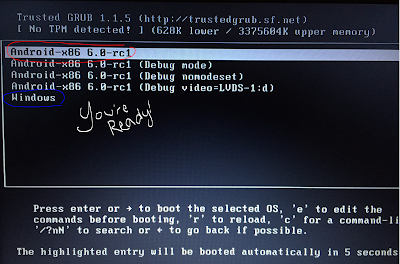 |
| You can choose which system you want to boot into with your arrow keys and enter! |
